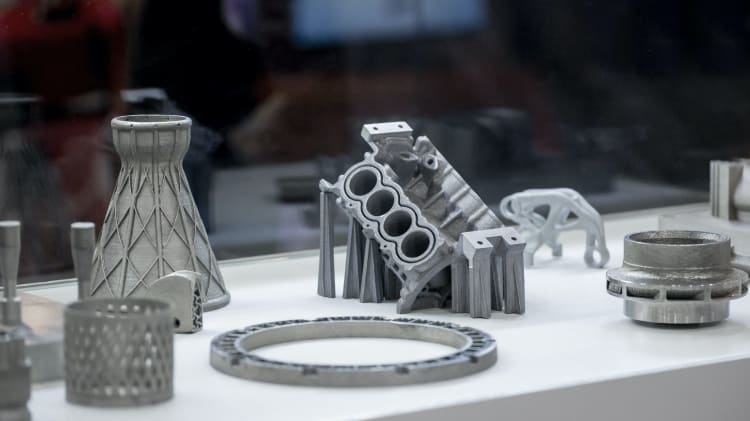
Over the last few decades, additive manufacturing (AM) / 3D printing has fundamentally changed the way that manufacturers approach product development. Industry is now almost universally aware of the term rapid prototyping, using AM to convert 3D CAD data into physical models in a matter of hours. The role of AM in prototyping has become embedded across all industrial sectors.
AM has enabled concurrent engineering - where all relevant departments can be engaged early in the product development process. Concurrent engineering replaces traditional “over-the-wall” product development, where design iterations could be delayed by weeks to accommodate tooling and machining considerations. The benefits are dramatic time-to-market reductions and cost savings in product development.
AM is a uniquely disruptive technology. 25-30 years ago, it changed the manufacturing paradigm by altering the way that manufacturers produced prototypes. Today, it is disrupting the way that manufacturers produce end-use parts and components and is increasingly seen as a truly viable production technique. Now the conversation among manufacturers is around the most judicious use of AM for production, its advantages, the sweet spot is in terms of production volumes, key opportunities, and barriers to entry. Many of these barriers relate to precision quality control of AM parts, which challenge traditional methods of surface metrology.
Good enough?
With the focus today being on the use of AM for production, the analysis of the accuracy and repeatable tolerance attainment of AM has become a far more critical issue. When used as a prototyping technology, absolute adherence to tolerances and precise design intent is not always necessary, and a “good enough” approach can be taken. Hence the proliferation of quite inexpensive desktop 3D printing machines that provide sufficiently accurate rapid prototypes that do the job without needing to be pitch perfect.
For production applications, however, “good enough” is no longer sufficient. If an AM part is integral to a safety critical aerospace or medical application, it is essential to achieve dimensional and material tolerance targets consistent with design intent. It is here that the role of metrology to validate the quality of finished parts is so important. It is also an area where providers like ZYGO of 3D optical metrology solutions can make a difference.
Industry response
Legacy manufacturing processes for metals and plastics have established quality control methods for validating and measuring parts. The production processes are understood, as are the most critical dimensional and surface finish requirements. AM, however, does exactly what the name implies — it produces parts layer by layer “additively”, and this opens up an array of unique issues that can affect the integrity of a finished product, and also a unique set of surface characteristics that make the job of measuring and validating that much more difficult.


